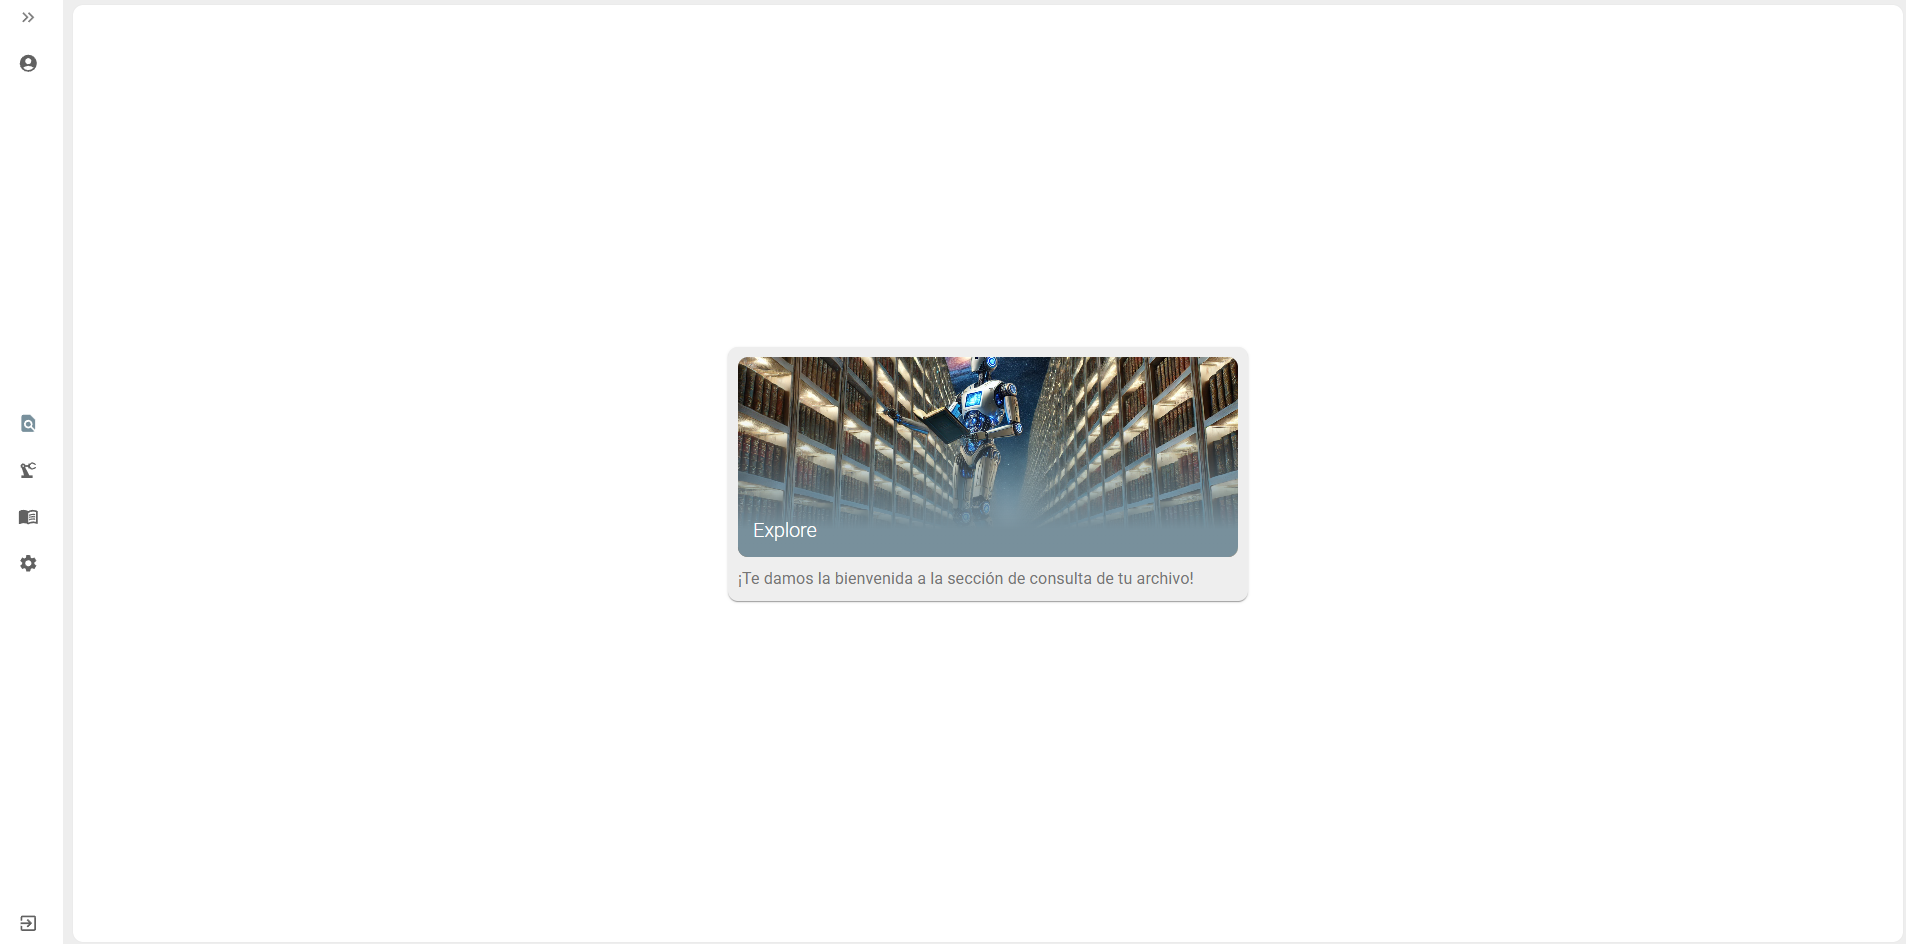
First steps - Welcome!
Welcome to the start of the application! Currently, you have a user with full permissions, which gives you full access to the menu.
Let’s take this opportunity to explore all the functionalities and get familiar with the platform. Let’s take a look!
Cataloging
Section titled “Cataloging”This is our main screen, where you will spend most of your time browsing through the files.
It is important that you become familiar with how it works in order to take full advantage of all the functionalities. Let’s explore together how it works and how you can use it efficiently.

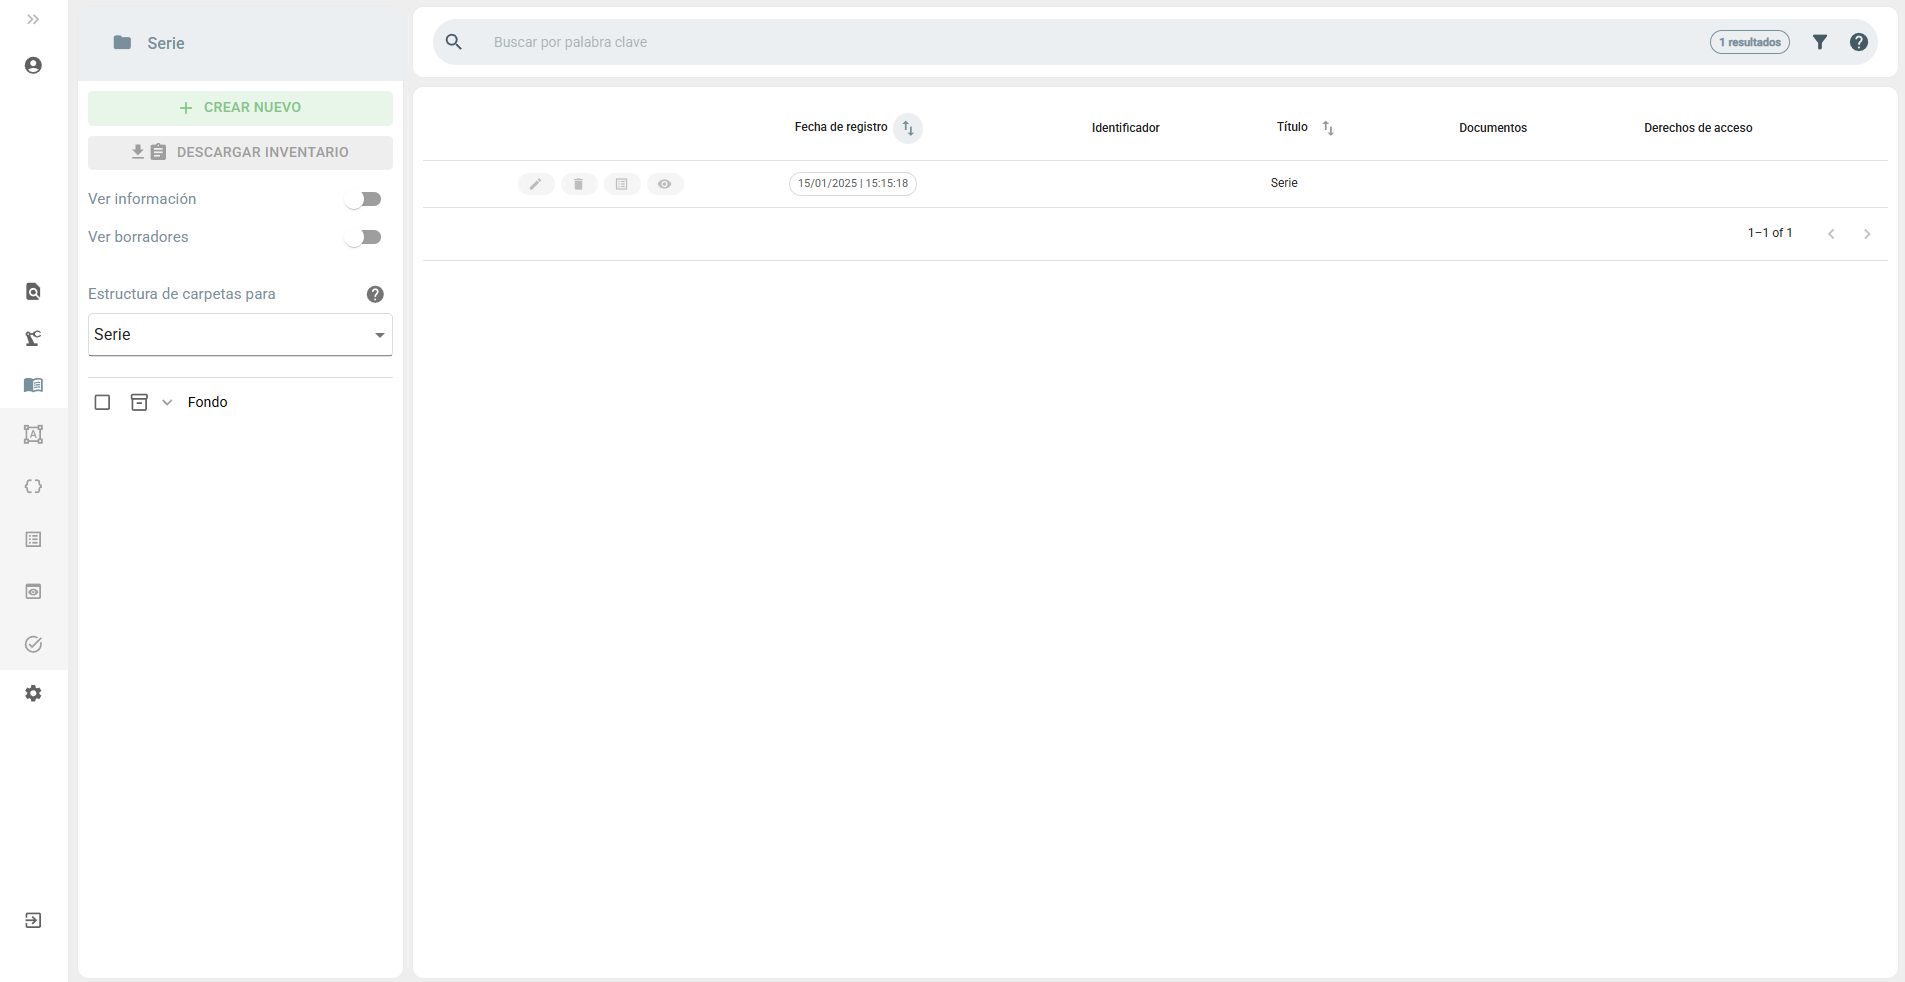
In the upper left corner, you will find a drop-down list with the content types that come predefined with the ArchiHUB installation. If you want to know more about these content types, click here.
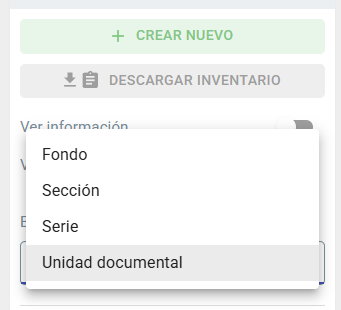
It is important to know that content types have a hierarchy. We are currently looking at Document Unit and its associated hierarchy is as follows:
├── Fond│ ├── Document Unit│ ├── Section│ │ ├── Document Unit│ ├── Serie│ │ ├── Document Unit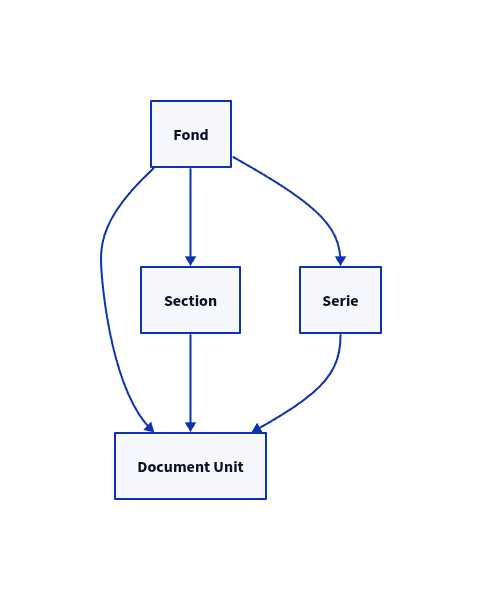
As you can see, the Document Unit can be contained in a Fond, a Section or a Series. These types, which we will call the parents of the Document Unit, will appear on the left. Although there is nothing there now, we will soon begin to build our file. The Document Units will be displayed on the right side of the screen.
This structure will help you organize and navigate your files effectively. Let’s start building your file!

To create a new Documentary Unit, we must first create a Fond that contains it. Follow these steps:
- Open the creation form: When you first open the creation form, you will see the default ISAD-G form. You can learn more about the metadata standards here.
- Fill in the form: Don’t worry about all the fields at this point. You just need to enter a Title for your new resource of type Fond.
- Save the Fond: Once you have entered the Title, you can save your new resource of type Fond.
You are now ready to create Document Units within this Fond. Let’s get started!
When creating a Documentary Unit, you will notice some key differences in the creation form:
-
Tree structure on the left: On the left side of the form, you will see a tree structure. This allows you to select the parent to which you want to assign the new Document Unit, either a Fond, a Section or a Serie.
-
Form on the right: On the right, you will find the form with the same fields that you used to create a Fond, since the Documentary Unit uses the same metadata standard, ISAD-G.
To create a Document Unit, follow these steps:
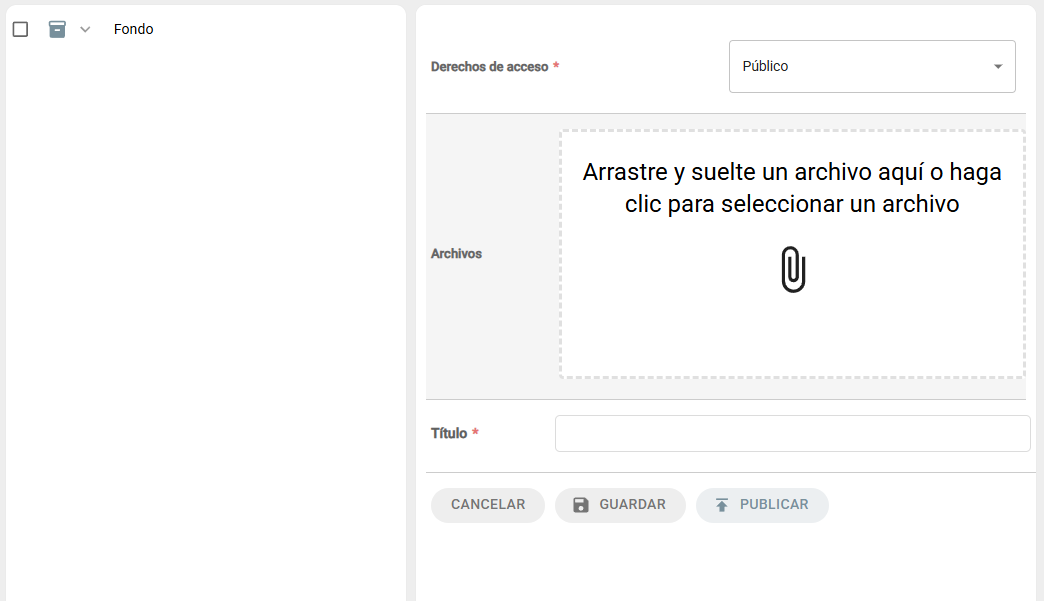
- Select parent: In the tree structure on the left, select the appropriate parent (Fond, Section or Serie) for the new Document Unit.
- Fill in the form: Enter the required information in the form on the right. The fields will be the same as you already know from the ISAD-G standard. You don’t have to fill in all of them, we can for now fill in the title and upload a new document, try dragging and dropping a few files!
- Save the Document Unit: Once you have completed the form, save your new Document Unit. If you click Save it will be saved as a draft and will not be visible to non-editor users. On the other hand, the Publish button allows you to make your resource public for all users.
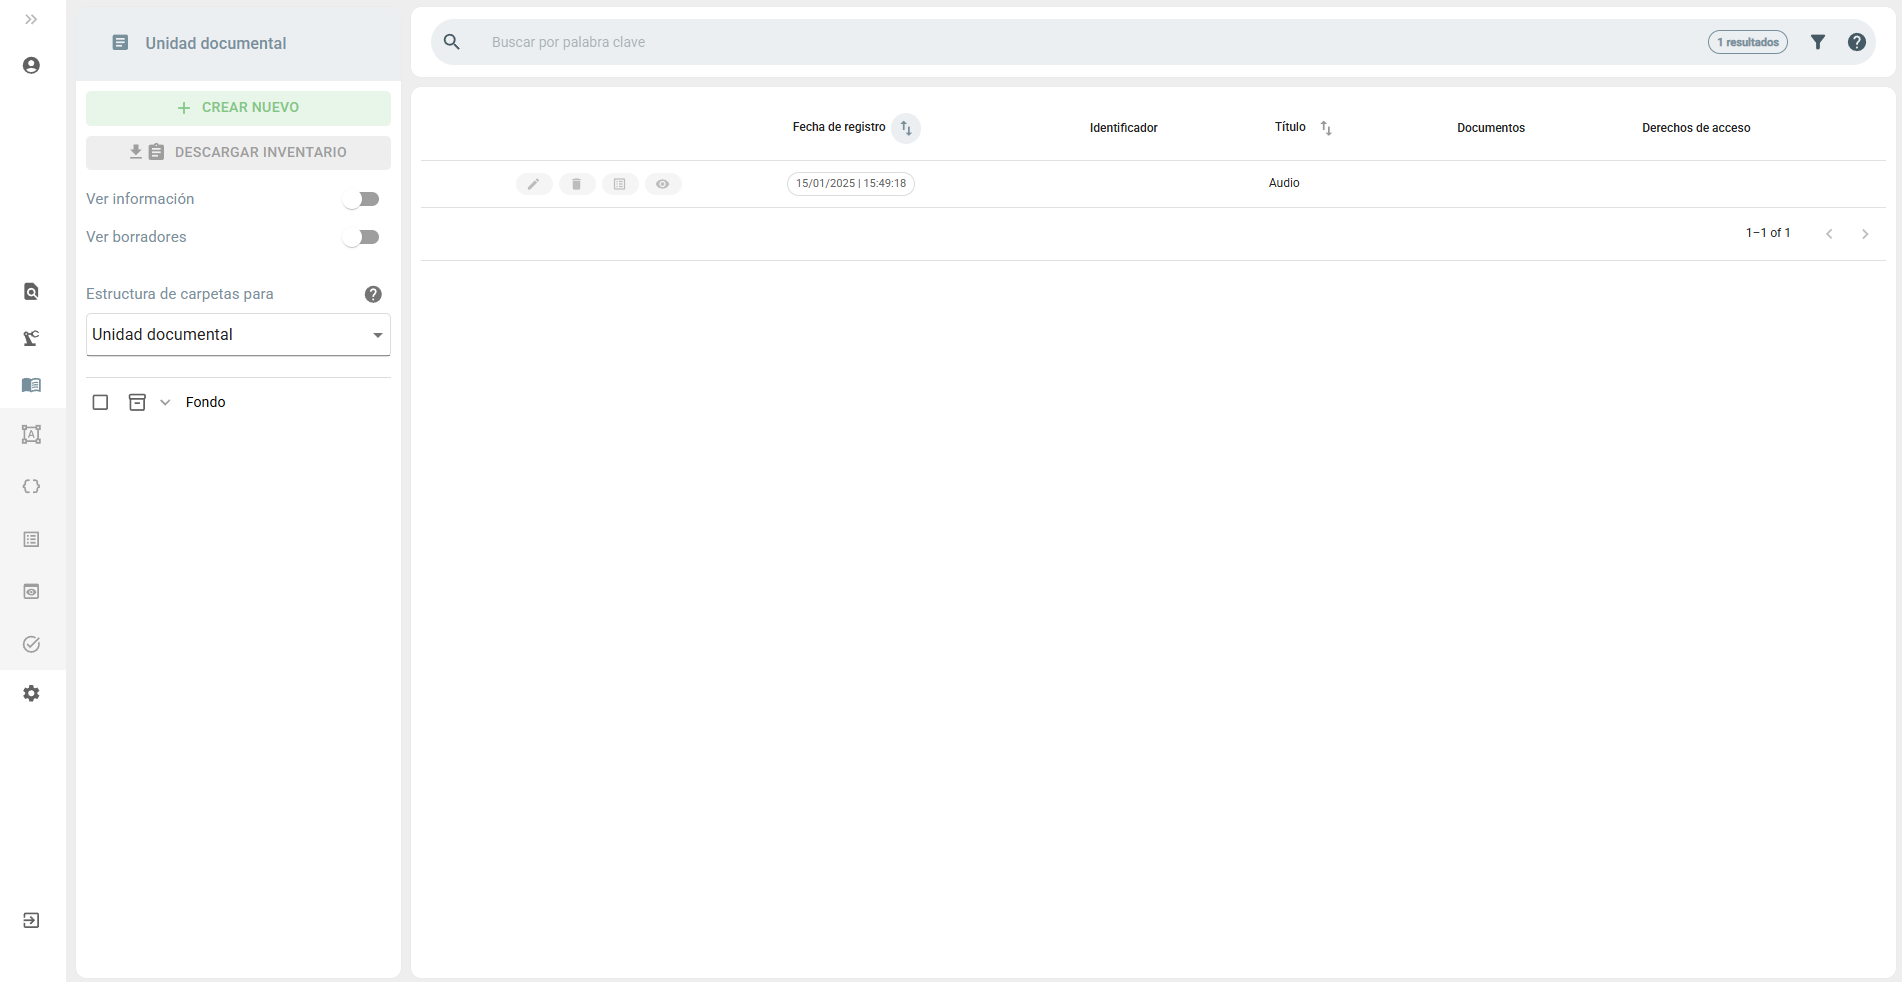
Once you have saved your new Document Unit, you will be automatically redirected to the Cataloging Module. Here you will be able to see the Document Unit you have just created.
To show you an example, I have uploaded an audio file to a new Document Unit named “Audio”. In the list of Document Units, find and click on the name of your newly created resource.
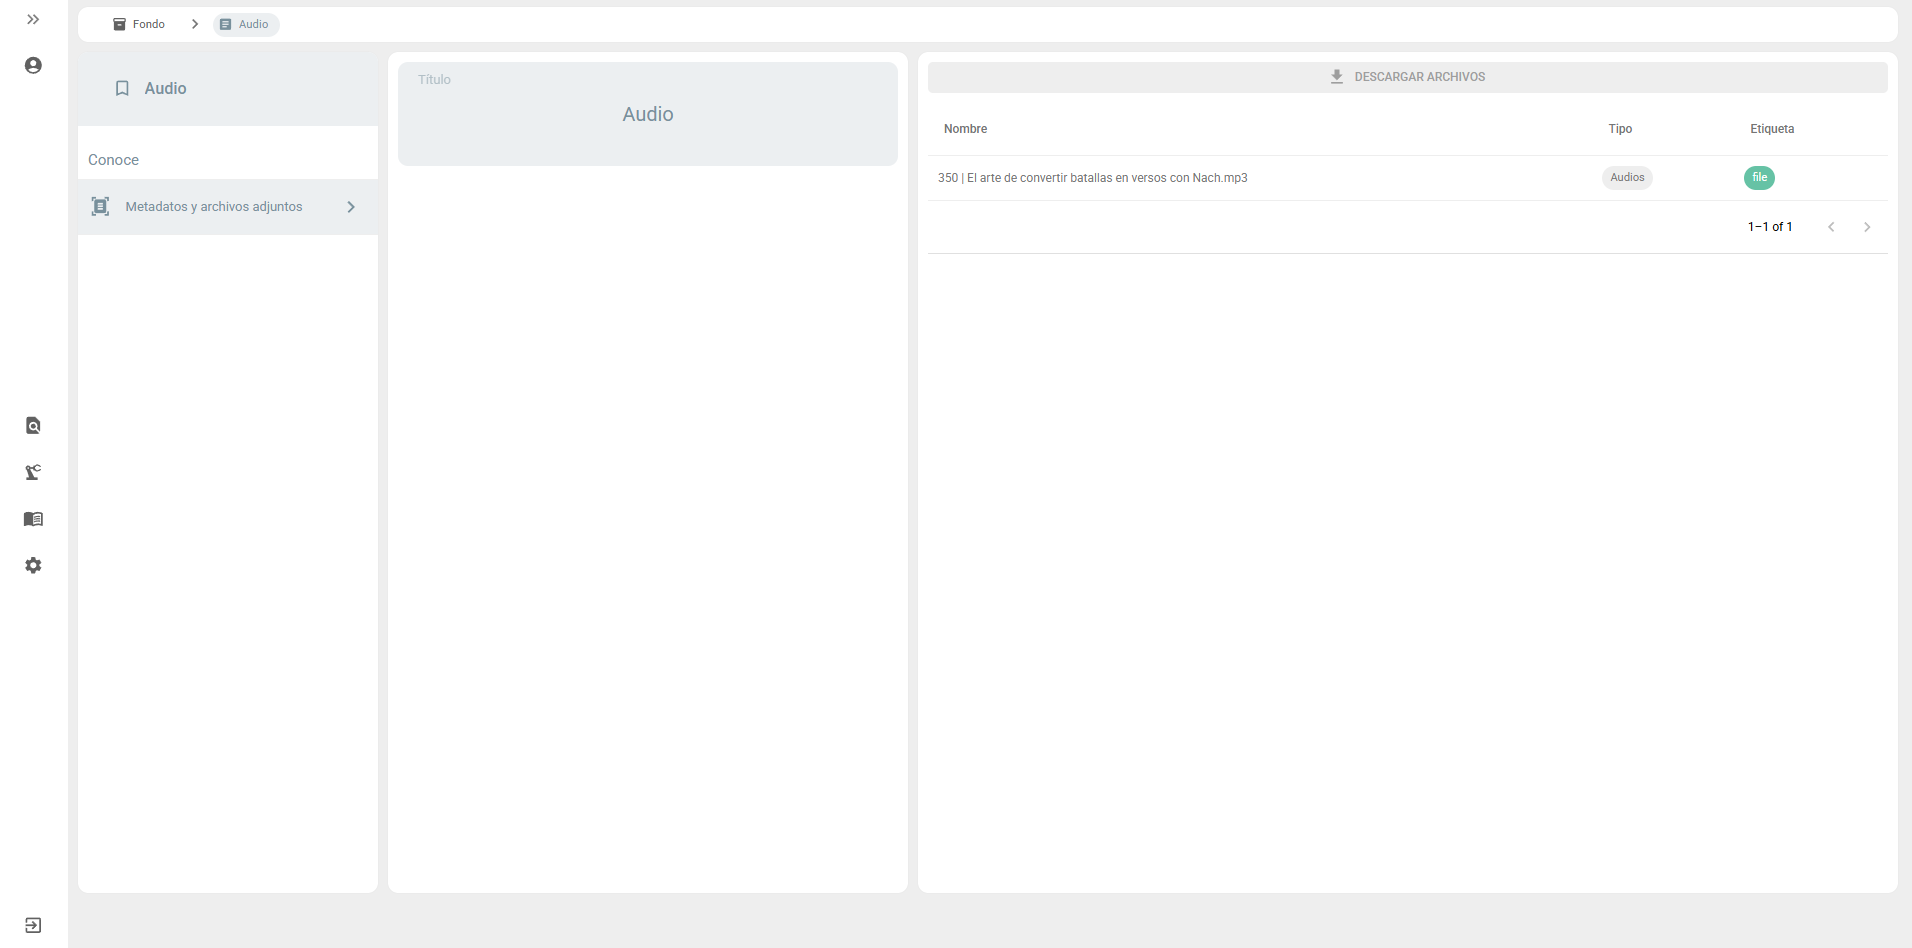
This is the detail view of your resource, where you can find the general information of your Document Unit. Here is a quick guide on what you can do from this view:
-
Breadcrumbs: In the upper left corner, you will see the breadcrumb that shows the hierarchy of information. As you can see, your resource is a child of the Fond we created at the beginning. This helps you understand the structure and location of your resource within the file. -
Navigation buttons: On the left side of the screen, you’ll always find buttons to access the different ArchiHUB modules. From here, you can navigate to the main page, Processing, Users, Settings, or the cataloging module’s home window. -

Resource information: The main part of the screen displays all the information associated with your resource, including:- Metadata: Specific details about your resource following the ISAD-G standard.
- Files contained: The files you have uploaded to this Document Unit.
- Child resources: In case you are viewing a resource of a content type that is a parent of other resources, they will be displayed here, listing all associated resources and organized in a tree.
Processing
Section titled “Processing”In order to be able to interact with the audio you have uploaded (or your own file), we first need to process it using a plugin. Currently, uploaded files have an “Unprocessed” status and are not clickable. Follow these steps to process your files:
- Go to the main page: From the detail view of your resource, return to the ArchiHUB main page.
- Navigate to the Processing section: From the main page, navigate to the “Processing” section.
- Select the File Processing plugin: Once in the Processing section, look for the plugin named “File Processing”.
This plugin will take care of processing your files, changing their status from “Unprocessed” to a format in which you can interact with them.
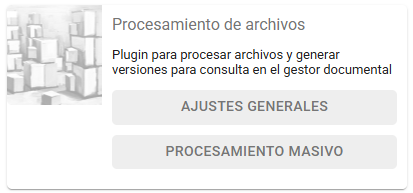
We have two options available, for now let’s go to Mass Processing and then come back to look at the General Settings. The Bulk Processing view is similar to the Cataloging Module, but with some key differences. Here, in addition to selecting parents, you can also select specific resources.
- Select a parent: If you select only one parent, processing will run on all the Document Units that are within that resource.
- Select specific resources: If you select one or more specific resources, processing will run only on those selected resources.
- Processing options: On the right you can see the options that are available for processing. In our case, the File Processing plugin allows to overwrite old versions of the web versions of the documents.
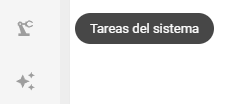
We can select the resource we just created and start processing. Once you click and start processing you can go to your profile in the System Tasks section:
This view allows you to monitor the progress and results of your processing:
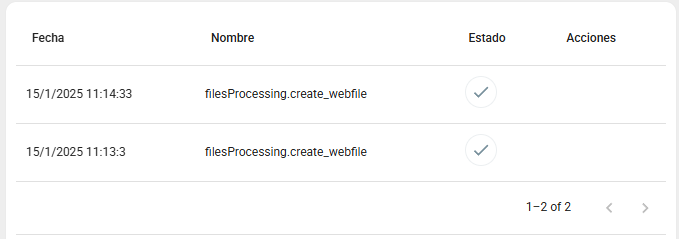
And when it is finished:

Automatic processing
Section titled “Automatic processing”To avoid manually repeating the processing steps each time you upload a new resource with files, you can set up automatic processing. This is achieved through the “run queues” functionality in some plugins. Here’s how to do it:
- Go to the Plugins view: From the main page, go back to the Processing section.
- Select General Settings: Find the “File Processing” plugin and select the General Settings option.
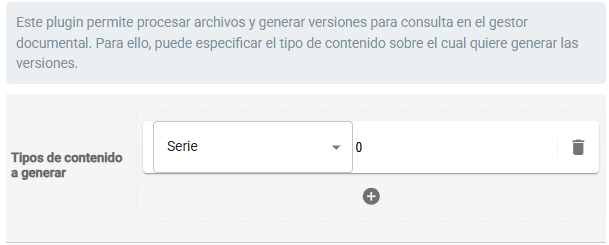
- Configure automatic processing: In the General Settings, you have the option to add a new automatic processing. You must select a content type, for our case we select Document Unit and in the second field we can leave the number 0. When we talk about advanced processing rows we will learn how to use that field to configure the execution order.
This way we configure the automatic processing of the plugin for the files every time a Document Unit is created or updated.
This way, every time you upload or update a resource of type Document Unit, file processing will run automatically without the need for manual intervention.
That’s all for now! With the steps we have covered, you can now start configuring and managing your archive in ArchiHUB. Remember that there are many more features and options available in the tool.
- Explore more: We encourage you to continue exploring the rest of the documentation to discover all the possibilities that ArchiHUB offers.
- Experiment: Do not hesitate to continue “tinkering” with your file. The best way to learn and become familiar with the tool is to experiment with its different functionalities.
Good luck with your archive and have fun exploring ArchiHUB ❤️!